 All posts
How to Organize Storage Bins So Everything Is Findable
Learn how to organize storage bins by matching size to location, using sub-containers, and creating a photo-backed inventory system so you never lose track of your items.
Corey Everett built Arclyst from a background in Library and Information Science, with the goal of bringing structured information management into everyday home life.
Gemini-assisted drafts are reviewed by Corey Everett before publication.
Publisher: EverCreate Studio
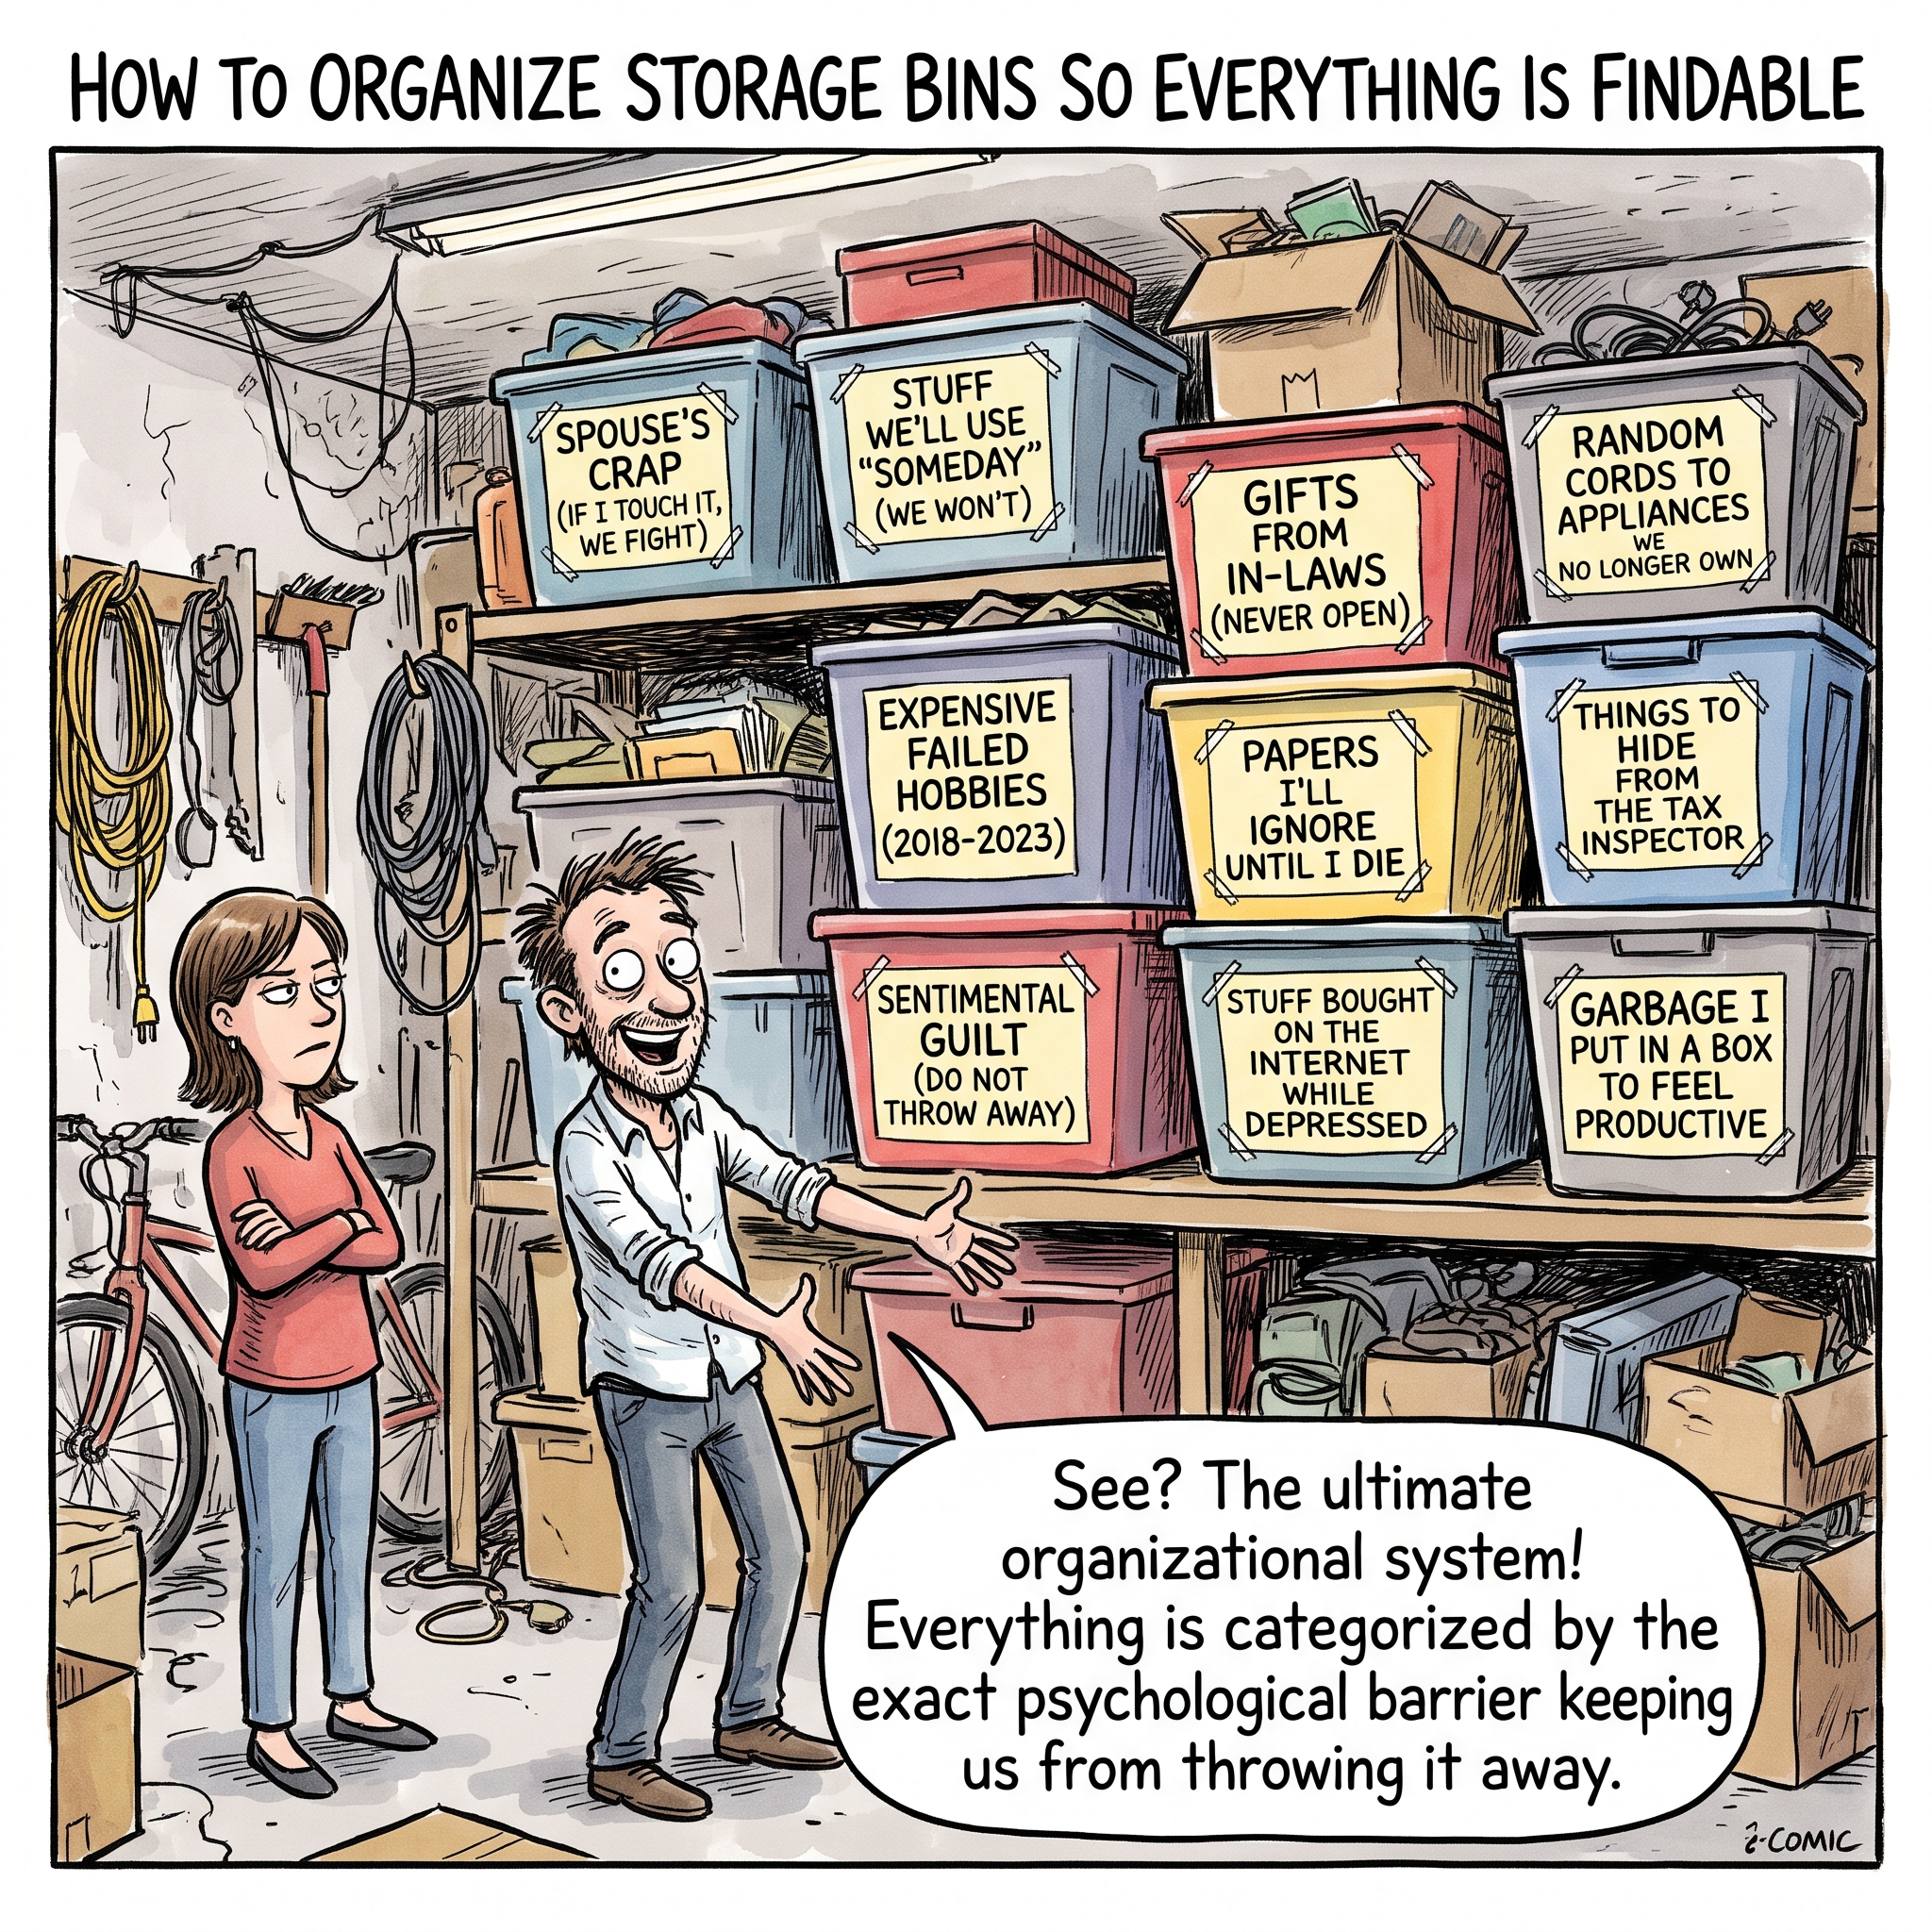
The secret to organizing storage bins so everything is findable comes down to three decisions: matching the bin's size to its physical location, labeling the outward-facing side with a specific category, and dividing the interior with sub-containers so you never have to dump the contents to find one item. When you pair this physical structure with a simple photo record, you can locate any item without opening a single lid.
Key takeaways
- Match bin size to its location: Use shallow 6-inch bins for under-bed storage, 10- to 12-inch bins for closet shelves, and larger 20- to 27-gallon totes exclusively for garages and attics.
- Label the outward-facing side: Write the room, category, and a one-line contents summary on the short end facing out. Never label the lid, as lids become invisible when bins are stacked.
- Use sub-containers: Divide small items into smaller pouches or boxes before they go into a larger bin so opening it never requires dumping everything out.
- Adopt the two-photo rule: Take one photo of the closed bin showing the label, and one photo of the open bin showing the contents to build a visual home inventory.
- Document high-value items separately: A photo of a bin does not replace a receipt. Capture serial numbers and warranty documents separately for electronics, tools, and valuables.
- Maintain the system: Keep the organization alive with a strict one-in-one-out rule, immediate relabeling when contents change, and an annual photo refresh.
How do you organize storage bins so you can actually find things later?
Three decisions, made once, keep any bin findable. First, match the bin size to the location. Small bins belong on shelves and in closets, while large totes belong in the garage or attic. When a bin is too large for its space, it becomes a catch-all for unrelated items.
Second, label the outside with the room and contents. A labeled box you cannot locate is as useless as an unlabeled one. Tech reviewers evaluating QR label systems frequently note that losing track of where you put things is the primary failure point of any storage system.
Third, structure the inside with layers and sub-containers so opening a bin never means dumping it out. Photograph each filled bin, and you have a photo-backed record of what you own. While item records and organization help establish a baseline for your belongings, remember that a photo alone does not legally prove ownership or guarantee an insurance payout; it simply provides the context an adjuster needs to begin a claim.
Which bin size belongs in which room?
The fastest way to make a bin system fail is to buy one massive size in bulk and force it into every room. Match the bin to the physical space it lives in, and everything else—labeling, stacking, and retrieving—gets easier.
Under-bed and closet bins
Under-bed space is notoriously shallow. Most standard bed frames provide only 6 to 8 inches of clearance, meaning low-profile bins around 6 inches tall are required. Closet shelves reward shallower, wider bins as well. A deep bin on a high shelf hides whatever sits at the bottom, forcing you to pull the entire heavy container down just to check its contents. Keep anything you reach for weekly in the front half of the shelf, stored in bins no deeper than 12 inches.
Garage and attic bins
Garages, basements, and attics can handle depth and weight, making 20- to 27-gallon lidded totes appropriate. However, the tradeoff with large volume is that deep bins obscure their contents. This is exactly where a photo-backed record earns its keep. If you store valuable gear or heavy equipment, photograph what goes into each tote as you pack it. For high-value items, you will need to log your power tools and garage equipment with specific serial numbers, as a wide shot of a bin will not capture the granular detail required for an insurance claim.
Cube storage bins (13x13 and similar)
Cube organizers only accept bins sized to the specific dimensions of the cube. The 13x13x13-inch fabric bin has effectively become a standard for these units. Because these bins are opaque and lack rigid structure, they must be treated strictly: one category per cube, with no exceptions.
| Location | Bin depth | What fits |
|---|---|---|
| Under bed | ~6 in | Seasonal clothes, spare linens |
| Closet shelf | 10–12 in | Everyday categories, one per bin |
| Garage / attic | 18–22 in | Holiday decor, tools, archived boxes |
| Cube organizer | 13x13 in | One category per cube |
How should you label the outside of a bin?
A label has one job: to tell you exactly what is inside without requiring you to open the lid. A vague label like "Misc." or "Stuff" guarantees you will have to dig through the bin later.
What to write on the label
Structure your labels systematically: room first, category second, and a brief contents summary last. For example, "Office — Cables — Chargers, HDMI, Power Strips" is vastly superior to "Office cords." Keep the text under ten words so the label remains readable at arm's length. Skip writing dates on the label unless the bin contains seasonal items or perishable emergency supplies.
Where to place the label
Place labels on the short end of the bin facing out. Never put the primary label on the lid. When bins are stacked in a garage or closet, the lids become entirely invisible. If the bin slides into a deep shelf, label the face you see when it is fully pushed in, not the side you only see when it is pulled out.
Handling bins you stack or store out of sight
Standard bins vary widely in their footprint, so measure your shelf depth before buying containers in bulk. For bins that are stacked three high or hidden in an attic, a QR label or a photo-backed app record allows you to search the contents without physically moving heavy boxes. Plain painter's tape and a permanent marker, paired with a smartphone photo, works just as well for basic retrieval; an app simply makes the text searchable later.
How do you organize inside storage bins so nothing gets dumped out?
Layer by frequency of use
Pack the bottom of the bin with heavy, rarely used items, and reserve the top layer for things you reach for frequently. When the everyday items sit on top, you never have to dig. Eliminating the need to dig is the single most important factor in keeping a bin organized past the first month.
Sub-containers for small and mixed items
The habit that separates a functional bin from a frustrating one is dividing small items into sub-containers before they go inside. A large bin filled with loose cables, batteries, and adapters will inevitably become a tangled mess. Instead, divide those items into three zippered pouches or small boxes, each holding one specific category.
When the inside of the bin mirrors the label on the outside, retrieval is frictionless: open the lid, pull the specific pouch, and you are done. Without this sub-container layer, small items migrate to the bottom within weeks, turning the bin into a junk drawer with a lid.
This matters most for bins stored high on a shelf. When a bin is hard to reach, dumping everything out to find one item is the path of least resistance. Sub-containers also give your documentation structure. If you are documenting everything you own before a move, photographing each pouch's contents is far more effective than taking one blurry, top-down shot of a deep bin.
The inside-lid contents list
For bins containing many disparate items (like camping gear or a first-aid kit), tape a handwritten or printed contents list to the inside of the lid. It costs nothing, survives a shelf move, and allows a family member or house sitter to find things without having to ask you.
How do you organize inside cube storage bins specifically?
Cube bins are shallow, soft-sided, and opaque. Because they lack the rigid structure of plastic totes, organizing them requires restraint. Store them front-facing like books on a shelf, and never stack them deep. The opening you pull is the opening you see.
Give each cube one category only: winter accessories, kids' art supplies, or workout gear. Mixing categories is how a cube becomes a junk drawer. If a category overflows, add rigid divider inserts or small sub-pouches inside the cube rather than spilling over into a second category.
The cube face itself is the label spot. Unlike rigid bins, cube bins have no lid to sticker. Write the category on an attached tag or the fabric edge. To document the contents, photograph the open cube with the items visible. Taking one photo per cube is the fastest way to build a room-by-room record. A targeted, 30-minute pass per room is usually enough to document your entire apartment.
How do you organize large storage bins without losing track of what's in them?
Large 27-gallon bins hide the most volume, so treat them like small closets. The golden rule applies: you should know exactly what is inside without opening the lid. Cap the weight at something you can safely lift and carry alone. Split contents strictly by category (e.g., camping gear, holiday decor, winter clothes) rather than by room, since categories are how you will naturally search for these items months later.
For large, opaque bins, the label can be a photo rather than a word. Shoot the open bin, print the photo, and tape it to the outside (or use a QR code pointing to the image). Number the bin to match the record. The Insurance Information Institute generally recommends photographing belongings, including items in storage, to help establish a record of ownership.
How do you organize with storage bins when preparing for a move or an insurance claim?
A labeled bin is already half of a home inventory. When you photograph it, you create a visual record tied to a specific location, which is exactly what you need when preparing an insurance claim guide after a fire, theft, or severe storm.
The two-photo rule per bin
For every storage bin, adopt the home inventory photo system using the two-photo rule:
- The closed bin: Take a photo showing the bin's label and its location on the shelf. This establishes that the bin existed and where it lived.
- The open bin: Take a top-down photo showing the contents clearly. This establishes what was inside.
Together, these two photos turn your physical bin system into a visual catalog without requiring a complex spreadsheet. If you do this as you pack for a move, the same photos document the condition of your items before transit.
What to document separately: serial numbers, receipts, warranties
High-value items require more than just a bin photo. A wide shot of a plastic tote will not capture the granular details an adjuster needs to process a claim for expensive electronics, power tools, or jewelry.
You must capture serials and warranties separately. Take close-up photos of serial number plates, model names, and original receipts. File warranty documents alongside these photos. A photo of a serial number plate takes only seconds to capture, but it is often the very first detail a claims adjuster will request to verify the exact make and model of a lost item.
Which tools keep a bin system findable: apps, QR labels, or plain photos?
Plain photos are free and require no new software. Your default smartphone photo app can hold your bin shots, but because nothing ties a photo to a specific physical bin, retrieval usually means endless scrolling.
QR label systems make any bin findable by scanning the outside sticker, which is genuinely faster than pulling down heavy boxes to open lids. The tradeoff is physical maintenance: stickers can leave sticky residue on plastic, and the system only works if you diligently update the QR record every time you add or remove an item. If a label is stale, it misleads you faster than having no label at all.
Dedicated home inventory apps structure records room by room, but many require you to catalog items individually by typing out descriptions, which is where most people abandon the project.
How do you keep the system from falling apart after a month?
Three rules keep a bin system functional past the first month of organization:
- One in, one out: When something new enters a bin, something old must leave the house. This prevents bins from overflowing and forcing you to buy larger, unmanageable totes.
- Relabel immediately: Relabel the bin the exact moment the contents change. An out-of-date label is worse than no label because it breaks your trust in the system.
- The annual photo refresh: Tie a photo refresh to your annual insurance renewal date or spring cleaning schedule. Walk the house once a year, open any bin that has changed, snap a new photo, and update your records in a single afternoon pass.
The honest gap in any organization system is that it only works if you actually update it. If you are using the two-photo rule to document your storage, Arclyst can help you turn those images into a searchable catalog. By letting a photo of the bin stand in for a manual spreadsheet entry, you can build a visual record of your storage spaces without typing out every single item.
FAQ
What is the best way to label storage bins so labels don't peel off or leave residue?
Place labels on the short end facing out, never on the lid, since lids are invisible when bins are stacked. High-quality painter's tape holds a paper label securely and peels clean without leaving sticky residue on plastic. For fabric cube bins, write directly on an attached tag or the fabric edge.
How many categories should one storage bin hold?
One. A bin that holds a single category, like cables or winter accessories, lets the outside label mirror the inside exactly. Mixed categories turn bins into junk drawers with lids. If a category overflows, add sub-containers or divider pouches inside rather than mixing in a second category.
Should I inventory bins room by room or category by category?
Inventory room by room for the photography pass, but label category by category. Shooting one room in a single 30-minute session keeps your momentum going and builds a location-tied record. However, label each bin with its specific category, since categories are how you actually search later when you need the camping gear, not "Garage Bin 4."
Do QR code labels on bins actually work, or are they overkill?
They work, but they come with a maintenance tradeoff. Scanning a code to see contents beats pulling stacked bins down, especially for garage storage. However, the system only stays useful if you update the digital records whenever contents change. A printed photo taped to the lid achieves most of the same result for free.
How do I document bin contents for renters insurance without making a spreadsheet?
Use the two-photo rule: take one shot of the closed bin showing its label, and one shot of the open bin showing its contents. Store them in a dedicated folder or app to establish a visual record tied to a location. For high-value items, always add a separate close-up of serial number plates and receipts, as adjusters require this detail for accurate valuation.
Related guides
Want a frictionless way to catalog what you own? Try Arclyst — free for 55 items. Snap a photo, AI fills in the details.