 All posts
Inventory List for Home: A Room-by-Room Walkthrough
Learn how to build a practical inventory list for your home room by room. Discover what fields to include, how to group items, and how to track serial numbers.
Corey Everett built Arclyst from a background in Library and Information Science, with the goal of bringing structured information management into everyday home life.
Gemini-assisted drafts are reviewed by Corey Everett before publication.
Publisher: EverCreate Studio
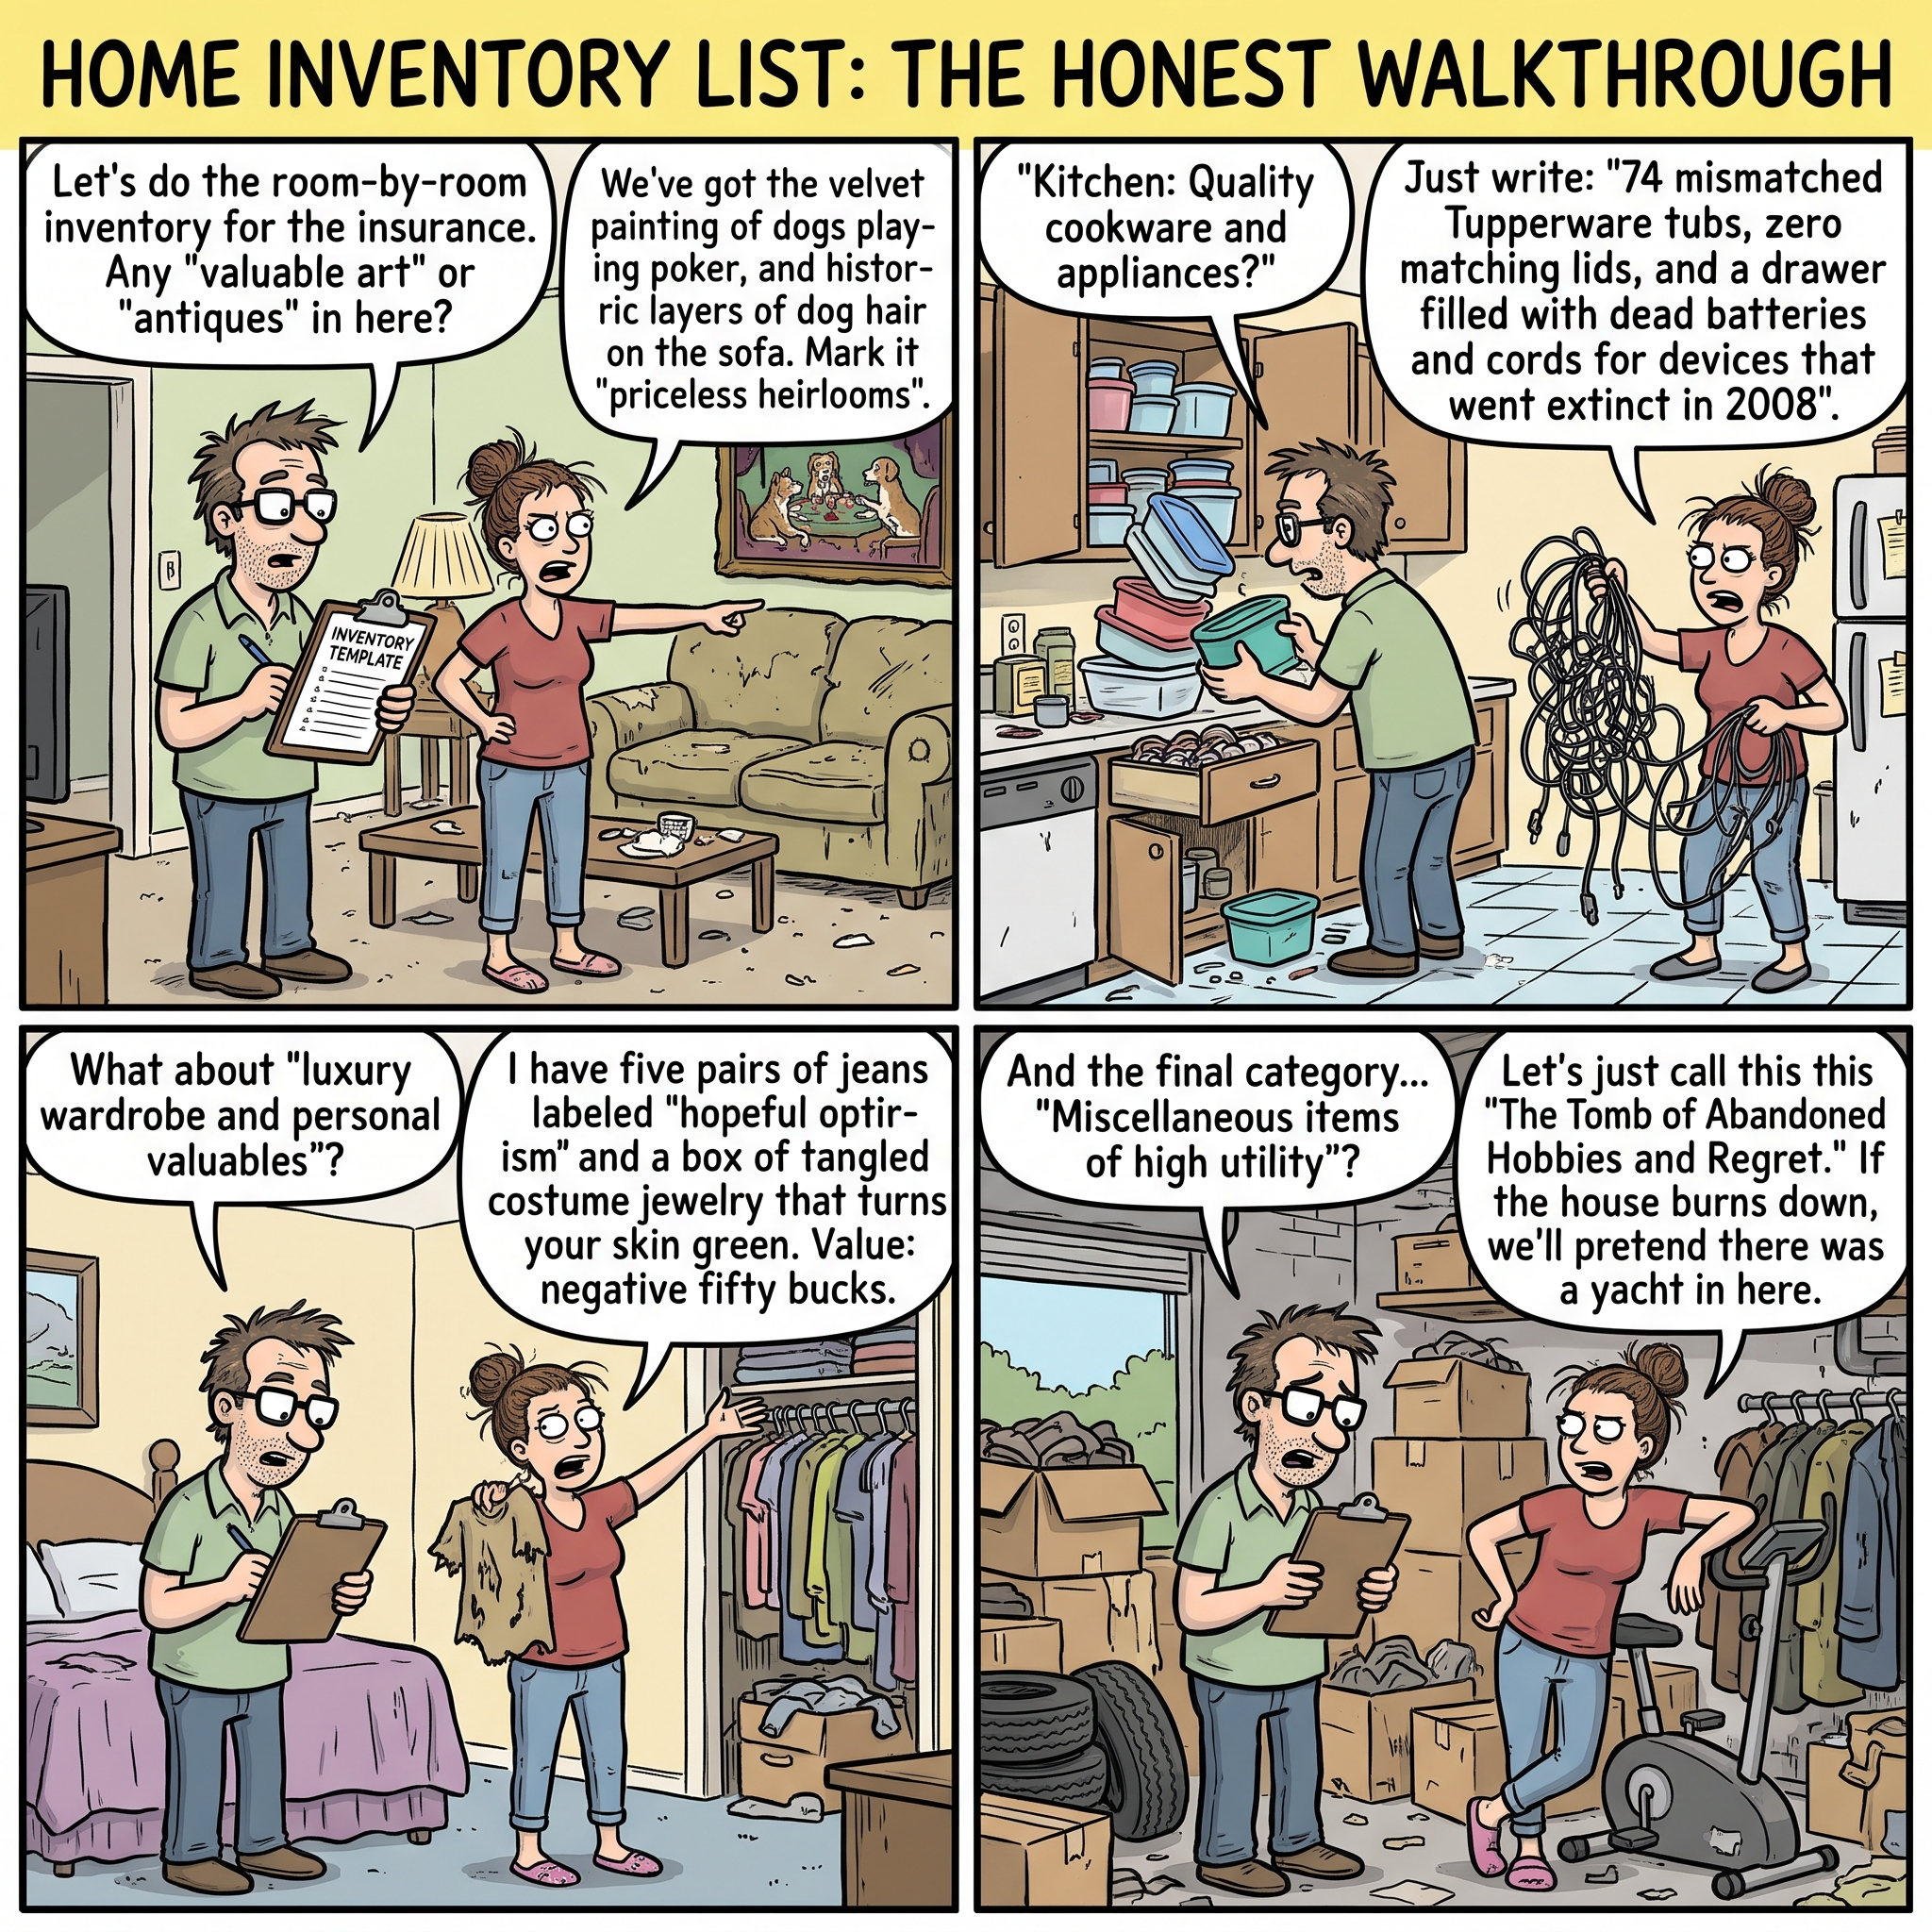
Staring at a blank spreadsheet is the fastest way to abandon a home inventory before you even begin. When faced with documenting an entire house, memory fails and the sheer volume of possessions feels overwhelming. The most effective way to build an inventory list for your home is to stop trying to remember what you own and start walking through your house, room by room, copying a proven format.
An inventory list works best when it is treated as a physical walkthrough rather than a mental exercise. Below, you will find a structured approach to sweeping each room, along with sample entries for the living room, kitchen, bedroom, and garage. These examples show exactly what to record for item names, purchase dates, prices, serial numbers, and photographic evidence.
Key takeaways
- Record seven core fields: For major items, aim to capture the item name, room, purchase date, price paid, estimated replacement value, serial number, and receipt or photo status.
- Use the clockwise sweep: Work through each room clockwise from the door. Take wide shots first to anchor the room, followed by close-ups of high-value items and serial numbers.
- Know when to group: Itemize electronics, jewelry, and power tools individually, but group low-value kitchen consumables and clothing into rough counts.
- Trigger updates by events: Update your list annually, or whenever you buy something over $200, move to a new home, or finish a renovation.
- Diversify your backups: Keep one copy of your inventory in cloud storage and one printed copy outside the home so it survives a localized disaster.
What should a completed home inventory list entry actually include?
When you eventually need to reference your home inventory checklist, whether for a move, estate planning, or an insurance claim, vague descriptions won't help. A strong entry provides enough detail to clearly identify the item and establish its rough value.
Seven fields generally cover what insurance professionals and adjusters look for: item name, room, purchase date, price paid, estimated replacement value, serial number (where applicable), and receipt or photo status. Industry guidance often recommends recording descriptions, costs, and receipts for major items, alongside photos of each room.
| Field | Example Entry |
|---|---|
| Item name | Sony A7 IV camera body |
| Room | Bedroom closet |
| Purchase date | 03/2023 |
| Price paid | $2,499 |
| Replacement value | $2,699 (current retail) |
| Serial number | On box, photographed |
| Receipt/photo status | Photo + receipt scanned |
Understanding the difference between what you paid and the actual cash value vs replacement cost is crucial when estimating values. When you lack a receipt or an exact purchase date, a clear photo with a visible serial number is often your strongest substitute.
How do you work through each room without missing items?
Treat every room as a repeatable physical sweep, not a memory test. If you sit on the couch and try to list what is in the room, you will inevitably forget what is inside the entertainment center or tucked behind the door.
The clockwise sweep rule
Stand in the doorway and list what you see, moving strictly left to right, before advancing into the room. This method ensures you don't skip corners.
Incorporate a home inventory photo system into this sweep. Wide shots anchor each wall so you can reconstruct the room's layout and contents later. Close-ups capture serial numbers, model labels, and the condition of the items, which helps establish proof of ownership.
What to do with junk drawers and storage bins
Open every drawer, cabinet, and storage bin. You do not need a dedicated spreadsheet row for every rubber band, paperclip, or spare charging cable. One photo labeled "desk drawer contents" is usually sufficient to cover a collection of low-value miscellany.
For labeled boxes in closets, the main risk is losing track of where the box went. Photograph the exterior of the box, open it to photograph the contents, and take one wide shot showing its location on the shelf.
Batching rooms into one-hour sessions
Attempting to inventory a four-bedroom house in a single "heroic" weekend is a recipe for burnout. Instead, batch the work into one-hour sessions. Tackle the kitchen on a Tuesday evening, and the primary bedroom on a Thursday.
What does a finished living room inventory entry look like?
Living rooms are heavily populated with electronics and furniture. A strong entry reads like a professional cataloger wrote it, leaving no ambiguity about the make or model.
Sample entry: 65-inch TV with serial number and receipt
Here is an example of a high-value electronics entry in a standard template format:
- Item: Samsung 65" 4K TV
- Room: Living room
- Serial: 04X2-KH77-9TQ1
- Purchase: Best Buy, March 2022, $849, receipt photographed
- Condition: Good
- Photo: Front view plus back panel showing the serial plate.
The serial number and the receipt are the most critical elements here. Consumer guidance from state regulators consistently lists proof of ownership—specifically serial numbers and purchase records—as documentation that helps establish a clear record of your belongings.
Sample rows for furniture, electronics, and decor
For items that don't have serial numbers, focus on the brand, material, and estimated value.
- Sofa: West Elm 3-seat, gray fabric, bought 2021, ~$1,400, photo of tag.
- Soundbar: Sonos Arc, serial on underside, $899, receipt in email.
- Bookshelf: IKEA Billy, 2020, ~$60, photo in place.
- Books/media: 1 shelf hardcovers, estimated 40 titles, shelf photo.
- Rug: 8x10 wool, 2019, ~$300, full-room photo.
- Floor lamp: Article, 2022, ~$150, photo.
Estimates are perfectly fine for low-value items and general decor. Reserve your energy for tracking down receipts for the expensive pieces.
How should kitchen and pantry items be listed differently from furniture?
Furniture gets one line per item because each piece has a distinct, relatively high replacement cost. Kitchens require a different strategy because they are filled with hundreds of low-value items and a handful of expensive machines.
Small appliances vs. grouped consumables
List anything with a plug, a serial number or warranty, or a price tag over roughly $50 on its own dedicated line. Your stand mixer, espresso machine, and high-end blender should be itemized just like living room electronics.
For food, spices, and staples, group them instead. One line reading "Pantry dry goods: rice, pasta, canned tomatoes, approx. 30 cans and bags" captures the rough value of the contents without forcing you to maintain 30 separate rows of data.
A home grocery inventory list that survives a power outage
A highly detailed grocery list goes stale within a week. Keep your kitchen inventory checklist coarse: use broad categories and rough counts, rather than tracking expiration dates per item.
If a severe storm knocks out your power for days and you need to file a claim for spoiled food, a grouped count combined with a recent photo of the open pantry and refrigerator is typically enough documentation for most renters and homeowners policies.
The home bar liquor inventory list variant
Spirits and wine are the exception to the kitchen grouping rule because bottles often carry a high value per unit. List each bottle over $20 individually, noting the brand, type, and size (e.g., "Lagavulin 16 Year Islay Single Malt Scotch, 750ml"). Group the cheaper mixers and everyday cooking wines into a single bulk entry.
What does a finished bedroom and garage entry look like?
Bedrooms and garages introduce unique challenges: high-value jewelry with fluctuating market prices, and heavy equipment covered in grease and sawdust.
Sample entry: jewelry with appraisal note
- Item: Engagement ring, white gold, 1 carat center stone.
- Purchase info: Unknown (gift).
- Receipt: None.
- Serial number: None.
- Photo: Close-up plus one worn on hand for scale.
- Note: Appraised 2024, $6,200; appraisal PDF attached.
Jewelry is the one category in the bedroom where a standard retail receipt matters less than a recent professional appraisal. If you cannot find either, a clear photo alongside an appraisal note is still your strongest proof of ownership.
Sample entry: power tools with serial numbers
- Item: DeWalt 20V drill kit.
- Serial number: On the base plate, photographed.
- Purchase info: Home Depot, ~2022, est. $199.
- Receipt: Searched email, not found; card statement listed instead.
- Photo: Kit with batteries and case.
Serial numbers generally live directly on the tool itself, often stamped into the plastic housing or printed on a metal plate. Log your power tools by photographing these plates while you are standing in the garage, rather than trying to transcribe them by hand in dim lighting.
Why garage contents are the most under-documented room
Garages hold the items people forget they own: seasonal sporting goods, camping gear, holiday decorations, and the second TV. They are also where serial-numbered goods tend to cluster (lawnmowers, bicycles, power washers).
Because the garage is often dusty and disorganized, people skip it. However, if you stick to the photo-first, room-by-room sweep, a standard two-car garage can usually be documented in about 15 to 20 minutes.
Which high-value items need receipts or serial numbers attached?
Electronics, jewelry, firearms, art, musical instruments, and power tools are the categories where extra proof of ownership is most critical. A photograph alone shows that an item existed in your home; a serial number or receipt helps show exactly what the item was, its specific model, and roughly what it cost to acquire.
Serial numbers and claim payouts
Serial numbers matter most for laptops, televisions, cameras, tools, and bicycles. If a bicycle is stolen from your garage and later recovered by local police, the serial number is the primary identifier that ties the recovered property back to you. Copy the serial number into your template's notes column, but always photograph the physical label itself as a backup against typos.
What to attach when you lost the receipt
It is incredibly common to lose paper receipts. When you need to prove ownership without a receipt, look for alternative documentation.
Use a bank or credit card statement showing the purchase date and vendor. Alternatively, photograph the product's original box, the owner's manual, or the model plate on the back of the device. QR-label systems can sometimes help organize this data, though they require strict upkeep—if you move an item and forget to update the QR code's database, the system quickly becomes outdated.
How do you adapt the printable template for renters versus homeowners?
Your living situation dictates the scope of your inventory. A homeowner must document the building itself, while a renter only needs to document what they brought through the front door.
What renters can skip
Renters document contents only. Your landlord's policy covers the physical structure of the building. Therefore, your renter home inventory starts and ends with what you own: furniture, electronics, clothing, and kitchenware.
Skip the room-by-room notes on wall conditions, flooring types, and built-in light fixtures. Delete the garage or shed rows if your lease doesn't include them. If you bought a freestanding microwave or installed custom shelving yourself, keep those entries; otherwise, appliances that came with the unit belong to your landlord's records.
What homeowners must add
Homeowners should add three specific blocks to their inventory template:
- Fixtures and finishes: Note the materials used for cabinets, countertops, flooring, and custom doors.
- Attached appliances: Document the furnace, water heater, central air unit, and built-in kitchen appliances.
- Outbuildings: Record details for sheds, detached garages, and fencing.
While your dwelling coverage handles the main structure, detached structures often have separate policy limits, so it is wise to note each one with an estimated replacement cost.
How often should you update your completed inventory list?
A full review once a year is generally enough for most households. Pick a date you will actually remember—like the day you change your smoke detector batteries or the start of daylight saving time—and walk the house room by room, crossing off anything you have sold, donated, or thrown away.
However, event-triggered updates beat calendar reminders. Add an entry whenever you:
- Buy something over roughly $200.
- Move to a new home.
- Finish a major room renovation.
These three events are where static inventories usually fail. The list that perfectly matched your last apartment says absolutely nothing about the house you live in now.
Keeping the list findable after a fire
An inventory stored exclusively on a laptop that sits on the desk next to the source of a fire is useless. You must separate your records from the physical location of the items.
Keep one digital copy in a secure cloud storage account, and keep one printed copy outside the home (such as at a relative's house or in a safe deposit box). The same rule applies to your folders of receipts and serial number photos. If you can access your list from your smartphone within five minutes of leaving your house, your backup strategy is solid.
Printable template or inventory app for home: which should you start with?
Whether you use a paper template, a spreadsheet, or an app, you should judge your chosen method on four criteria:
- Can you finish the first pass in a single afternoon?
- Can you easily attach receipts and serial numbers?
- Can you search the data room by room?
- Will the system survive a year of neglect without becoming hopelessly outdated?
A printable template wins on immediate speed but goes stale the moment you buy a new TV. A spreadsheet wins on granular detail, but most people find data entry so tedious they never finish the first room. General photo apps capture everything quickly but bury the images without any searchable structure.
A hybrid workflow that actually gets finished
The most practical approach is often a hybrid one. Photograph each room first using the wide-shot/close-up method. Then, sit down and transcribe only the high-value items (those needing serial numbers, receipts, and warranties) onto your template or into your software.
If you prefer to avoid manual transcription, Arclyst helps people catalog belongings from photos into searchable records, fitting naturally into the room-by-room sweep method. It uses AI to help draft item records from your images, though you must always review the AI's details for accuracy. Keep in mind that receipts, warranties, and hidden serial numbers must be separately captured, as a photo of a couch won't magically reveal its receipt.
Whichever tool you choose, prioritize getting a defensible, baseline record completed this weekend. You can always add more detail later.
FAQ
What should be on a home inventory list for insurance?
Include seven core fields: item name, room, purchase date, price paid, estimated replacement value, serial number, and receipt or photo status. Electronics, jewelry, firearms, art, instruments, and power tools deserve the most detailed entries, as these are categories where extra proof is often requested. A clear photo with a visible serial number is an excellent substitute when a receipt is missing.
How do I make a home inventory list after a fire?
If you didn't have a list beforehand, work from what survives. Gather wide photos you already have on your phone, credit card statements, email receipts, product boxes in the recycling bin, and any digital appraisals. Reconstruct the home room by room using old photos as visual anchors, and note estimated values where exact records are missing.
Is there a free printable home inventory list template?
Yes, basic spreadsheets and printable templates are widely available for free and win on speed for a first pass. The main tradeoff is upkeep: paper goes stale quickly, and manual spreadsheets are rarely finished. A hybrid approach works best: photograph each room first, then transcribe only the high-value items, serial numbers, and receipts onto your template.
What is the best inventory app for home use?
Judge any app on four criteria: can you finish the first pass quickly, attach receipts and serial numbers, search room by room, and easily update it later? Arclyst starts with photos and builds a searchable catalog from them, which aligns well with the room-by-room sweep method. Note that any photo-scanning technology makes occasional errors and requires your review, and all systems need ongoing updates when you buy or sell items.
How do I list food and liquor on a home inventory?
Group everyday food into coarse categories with rough counts, such as "pantry dry goods: approx. 30 cans and bags," accompanied by a photo of the open pantry. This is usually sufficient for a spoiled-food claim after a power outage. Spirits are the exception: itemize each bottle over $20 individually with its brand and size, and group the cheaper mixers together.
Related guides
Want a frictionless way to catalog what you own? Try Arclyst — free for 55 items. Snap a photo, AI fills in the details.